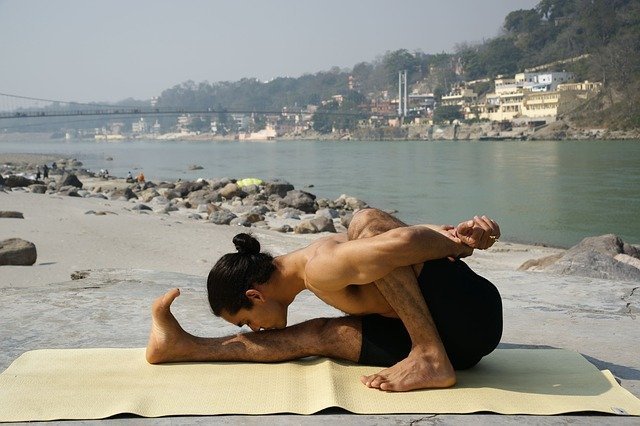
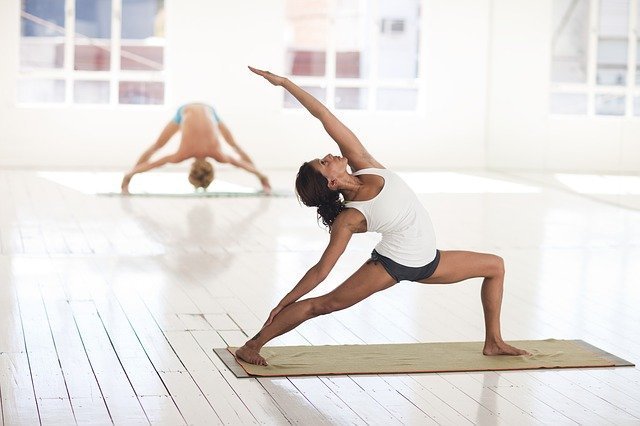
When I first started practicing yoga, way back in the nineties, there wasn’t a lot of different formats to choose from. Flash forward to 2022 and you may have heard the term “vinyasa yoga” quite a bit. That’s because Vinyasa yoga sequences are one of the most popular forms of yoga right now, and for good reason.
A vinyasa class unfolds in an intelligent manner, where the participant is cued where to place his or her body in an intentional way. And a Vinyasa also acts as the term used to describe a repetitive sequence of postures (plank pose or chaturanga to Cobra or Upward-Facing Dog to Downward-Facing Dog) that the practitioner will move through during a Vinyasa yoga sequence.
A Vinyasa Sequence Defined
A well crafted Vinyasa class will have a definite beginning, middle, and end. The beginning will most likely focus on body and breath awareness. From there you will build some heat as you learn to link your breath with your movements. This is usually accomplished by moving through some Surya Namaskars, or Sun Salutations.
 I was trained to throw some core cultivation at the beginning of class because this builds heat too but also gets the participant to start to engage the core muscles, which comes in handy during the rest of the sequence.
The middle portion of a Vinyasa sequence usually focuses on a few waves of standing postures that will get you ready to perform a “peak posture”. I was trained to teach to a “peak posture” which means a pose with more complexity, but some Vinyasa sequences might focus instead on a certain body part or a group of similar poses like backbends. The premise is the same though, you work up to the more complex poses before jumping right in and performing a more complicated posture.
The end of a Vinyasa sequence is time used to counterpose the “peak posture” you just performed. I was trained to approach counter poses as moving the body in the opposite way as the peak pose. So, for instance, if we did a Standing Twist like Revolved Half Moon, it would be countered with a forward fold or a backbend.
After the counter poses, there are usually a few nice, juicy stretches that are held a bit longer so your body and mind have a chance to cool down. And then comes the cherry on top of the cake, the final rest pose called Savasana, where you lay down on your back in stillness.
Beginner Vinyasa Yoga Sequence
Peak Posture: Low Lunge with a Twist
Try this sequence if you are new to Vinyasa yoga! It focuses mainly on the Classical Surya Namaskar. There are a few different Surya Namaskars taught in Vinyasa sequences, I find the Classical to be great for beginners. In this particular sequence, we don’t do a lot of standing postures. I like to keep beginner classes more grounded and low to the floor.
 Start your Vinyasa yoga sequence in a supine position. (Laying down on your back). You can keep your knees bent with your feet flat to the floor. Bring your hands to your belly, right below your belly button and begin to observe the rise and fall of your breath under your hands. Notice that when you inhale through your nose, your belly rises under your hands, and then exhale your belly lowers and relaxes. Deepen your breath by taking a few slow, steady inhales through the nose, and full, complete exhales out of your mouth. Try to maintain this rhythm throughout the class. Now bring your knees into your chest and roll over to your right side. Pause here for a few rounds of breath. Then use your top arm to press to a seated position. From here you will perform your first yoga pose.
Tabletop:
Start on your hands and knees and stack your wrists over your shoulders and your hips over your knees.
Cat/Cow:
From tabletop, you will begin to move your spine. Take an inhale, and allow your belly to lower as your gaze goes forward, this is your cow pose. On your exhale round your spine, tuck your chin and take your gaze down, this is your cat pose. Continue to perform these movements with your breath. Inhale to cow, exhale to cat. Do this 5 times. Then return to a tabletop.
Downward-Facing Dog:
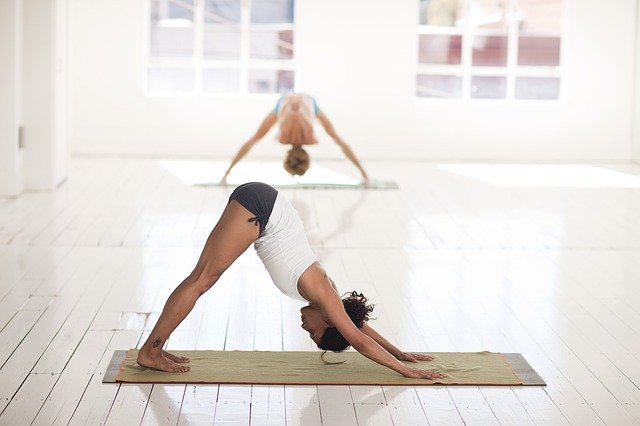 From your tabletop spread your fingers wide and press down firmly into the palms of your hands. Curl your toes and send you hips high as you press your thighs back. You will make your body into an upside-down V shape, and this is your Down Dog. Try to make your body as symmetrical as possible in Down Dog. Aim for having your hands at shoulder-width apart (or wider if tight in the shoulders) with the base of your palms lining up with each other. Your feet can be a hip-width distance apart (or a little wider if tight in the low body) with your big toes lining up. Keep a soft, micro bend to your knees and send your heels towards the floor (they do not have to touch the mat!) Hold for three breaths. Then, walk your hands back to your feet.
Standing Forward Fold:
Take your feet a bit wider than hip width and dangle your torso over your legs. Softly bend your knees here, you don’t need to have straight legs. Your hands can come down to yoga blocks, or your hands can reach for opposite elbows to hang in Ragdoll pose. Allow the crown of your head to be heavy so there is no tension in your neck. Hold for a few rounds of breath. Then, keep a soft bend to your knees and roll up to a standing position, SLOWLY, one vertebra at a time.
Mountain Pose:
Walk up to the top of your mat. To find Mountain Pose stand with your feet hip-width apart. Now think of creating length in your spine. Press down into your feet, relax your arms by your side, and take your gaze forward. Also, relax your shoulders away from your ears.
Classical Surya Namaskar:
You will start in Mountain Pose, and then move through a series of postures until completed.
Extended Mountain Pose:
On an inhale to sweep your arms overhead, with your hands coming together at the top.
Standing Forward Fold:
On your exhale keep a soft bend to your knees as you fold over your legs and bring hands down to frame your feet.
Halfway Lift:
On your next inhale, bring your hands to your shins, thighs or floor and lengthen your spine so that your torso is parallel to your mat.
Right Leg back Lunge:
Your next exhale will have you step your right leg all the way to the back of your mat. Hands can be to blocks or fingertips frame your front foot. This is called a lunge. Press your back heel away from you.
Plank:
Inhale as you step your left foot back to Plank pose, which is the top of a push-up.
Knees, Chest, Chin Pose:
Exhale and lower your knees to the floor, and keep your elbows hugged in towards your ribcage. Keep your hips high and hands flat as you bring your chest and chin to the floor. Then straighten your legs behind you, extend them towards the back of your mat as you untuck your toes.
Cobra Pose:
Inhale and press down firmly into the tops of your feet. Start to lift your chest, but keep your lower ribs on the floor. Roll the heads of your shoulders back.
Downward-Facing Dog:
Exhale to lower your chest back to the floor. Press up to tabletop, then hips go high to Down Dog. Hold for 5 breaths. At the end of the last exhale, bend your knees, look forward and walk your feet up to meet your hands.
Right leg Forward Lunge:
Inhale and step your right foot between your hands (you can use blocks under hands too) Press your left heel away from you.
Standing Forward Fold:
Exhale as you step your left foot forward and come into a Standing Forward Fold. Keep a soft bend to your knees as you dangle over your legs.
Extended Mountain Pose:
Inhale and circle your arms overhead as you come back to vertical.
Mountain Pose:
On your exhale bring your hands and arms by your side.
Repeat this sequence but step back with your left leg first.
After you finish doing that same sequence on the left side you have completed one round of Classical Namaskar. You can work up to doing as many as 5 Classical Namaskars.
Mountain Pose:
5 breaths in Mountain Pose to reground.
Extended Mountain Pose:
Inhale and sweep arms overhead
Downward-Facing Dog:
Hold for a breath
Tabletop:
Come to hands and knees
Child’s Pose:
Bring your big toes together and place your knees wide to the edge of your mat. Now, send your hips towards your heels and forehead down to the floor. Hold for three breaths.

Birddog:
After your last exhale, press up to hands and knees. Extend your right leg behind you and lift your right toes off the mat. Now reach your left hand forward, as if you were about to shake someone’s hand. Reach through your fingers and toes. Hold for 5 breaths. At the end of the last exhale, release your leg and hand down to the floor, and find your tabletop. Extend your left leg and right arm forward. Gently pull your lower belly in to engage your core. Hold 5 breaths.
Then, release your leg and hand back down. Stay in Tabletop.
Right Foot Forward Low Lunge:
From Tabletop bring your right foot, and place your right big toe by your right thumb. This is a low lunge, your back knee is still down on the mat.
Low Lunge Twist:
Tent your left fingertips to the floor or use a block under your hand. On your inhale reach your right arm open to the ceiling for a twist. On your exhale release your hand to the floor.
TableTop:
Plant your hands and reach your right foot back to tabletop.
Puppy Pose:
Keep your hips high, in line with your knees. On your inhale bring your forehead to the mat or a block for puppy pose. Walk your fingertips forward.
Sphinx Pose:
On your exhale bring your chest all the way down to the floor and straighten your legs behind you, top of feet flat. Place your forearms flat and parallel and keep your elbows in tight to your ribcage. This is Sphinx pose. Then take an inhale as your chest lifts slightly off the mat. Exhale and lower chest back to the floor.
Tabletop:
Inhale back to Tabletop. Repeat that sequence on the left side, begin with bringing left foot forward between hands.
Child’s Pose:
Hold for 5 breaths. Then press to hands and knees and take a seat. Shake your legs out.
Butterfly Pose:
From your seated position, bring the soles of your feet together and allow your knees to fall open wide. Place your hands to your shins. Press your sitting bones down to the floor and reach the crown of your head up towards the ceiling. Keep this length in your spine and hinge forward at your hips. To deepen walk your fingertips away from you and take your gaze down. Hold five breaths. At the bottom of your last exhale, lift your chest back up.
Reclined Butterfly Pose:
Slowly lower all the way down to your mat. Bend your knees and bring the soles of your feet together and let your knees fall open wide. Bring one hand to your belly and one hand to your heart. Reconnect to your breath by feeling it under your hand. Inhale the belly rises. Exhale the belly lowers. Hold 5 breaths. Then take your hands to the outside of your knees and close your knees together. Straighten your legs.
Savasana:
Now come into the final pose of class, Savasana. Legs are long, feet flop open, hands where they are comfortable. You can stop controlling your breath here, just let it be natural. Allow your body to be heavy on your mat and let the floor support you. You can rest in savasana for up to ten minutes.
I am a devoted mother, wife and yogi with a passion for fitness and writing. I am a certified and registered 500 hour yoga teacher and have been teaching since 2013. When I am not teaching yoga or spending time with my family, you can find me somewhere on a hiking trail in the mountains of Southern Colorado or walking my dog Queenie.